Bedroom Closet Makeover with Simple Updates
I bought this house a couple of years ago with big dreams of remodeling and updates. It’s been a slow process. From budget restraints to life’s curveballs, it’s taken me so much longer to tackle each project. And you know, that’s ok. Lately, I’ve focused on finding the most troublesome areas of this house and giving it some much needed love and attention – like this bedroom closet makeover.
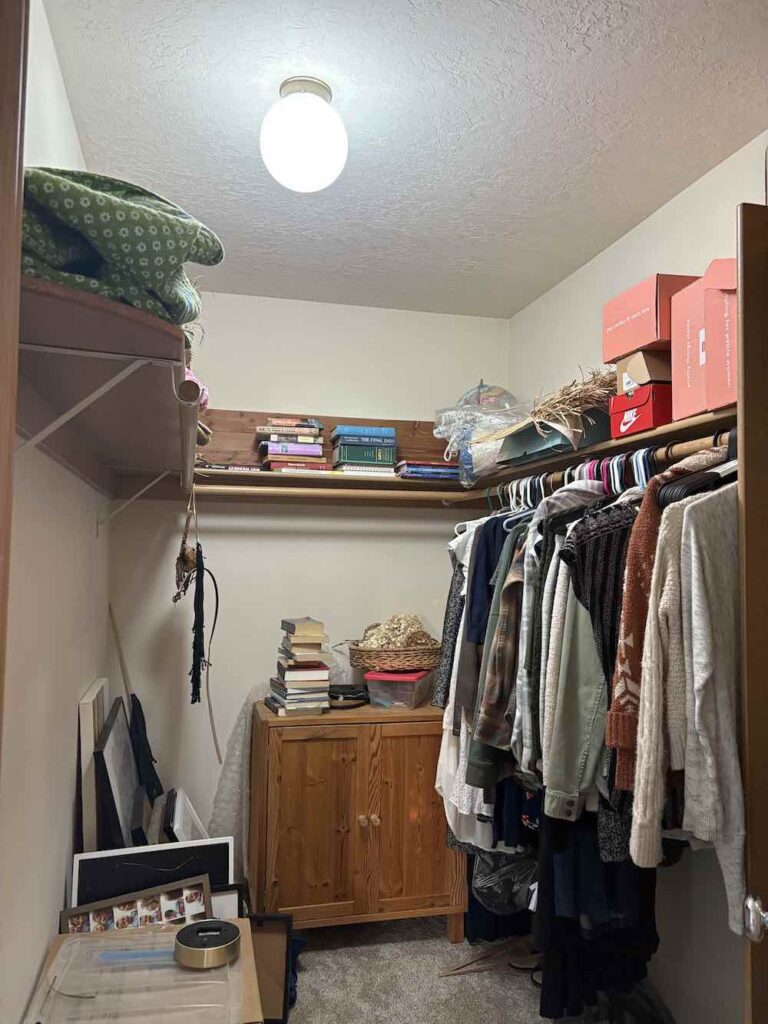
This means it’s not the most obvious updates, but ones that will make a huge impact on how things function around here. One area that has been sorely neglected for the last two years since moving in, is my primary bedroom closet. It has become a hidden dumping ground for odds and ends. Not only did I never properly organize it, the space had dirty beige walls and bad lighting. So, I teamed up with Home Depot and embraced the challenge for this bedroom closet makeover with big results.
Closet Makeover Before & After
For this project, I needed a mix of design and function. Working with Home Depot made that easy as they offer both. Of course, I’m used to walking the lumber aisles there for my shelf boards, over the years I’ve noticed they have more design related pieces like modern light fixtures, rugs, and plants (shhh, their indoor plant selection is one of my secrets!). They sponsored this post and I found everything I need for this closet makeover and am sharing all my steps for creating a space that not only feels more like me, it functions better than ever.
Closet Makeover Prep
To start this bedroom closet makeover, I dragged everything out to create a true blank slate. This is my approach for updating any space. It creates a lot of work but makes for better results. You don’t have to work around clutter and can really see the potential of a space. Here, it was clothes I hadn’t worn in years, boxes of notes and drawings from my kids, random items like a globe and clock.
After that major haul, I removed the fixtures and painted the entire space a true neutral white paint. If you know my style, I love starting out with a neutral white and building from there. This seemed to take forever (especially since the ceiling needed a coat as well), but it was really worth the final result.
While the wall paint dried, I spray painted the cream colored closet brackets with a flat matte metal safe spray paint. A very small touch that makes a big difference. The matte black creates contrast and instead of being boring hardware, they serve not only the function of holding up the rods but being a sort of design element as well.
Peel and Stick Wallpaper
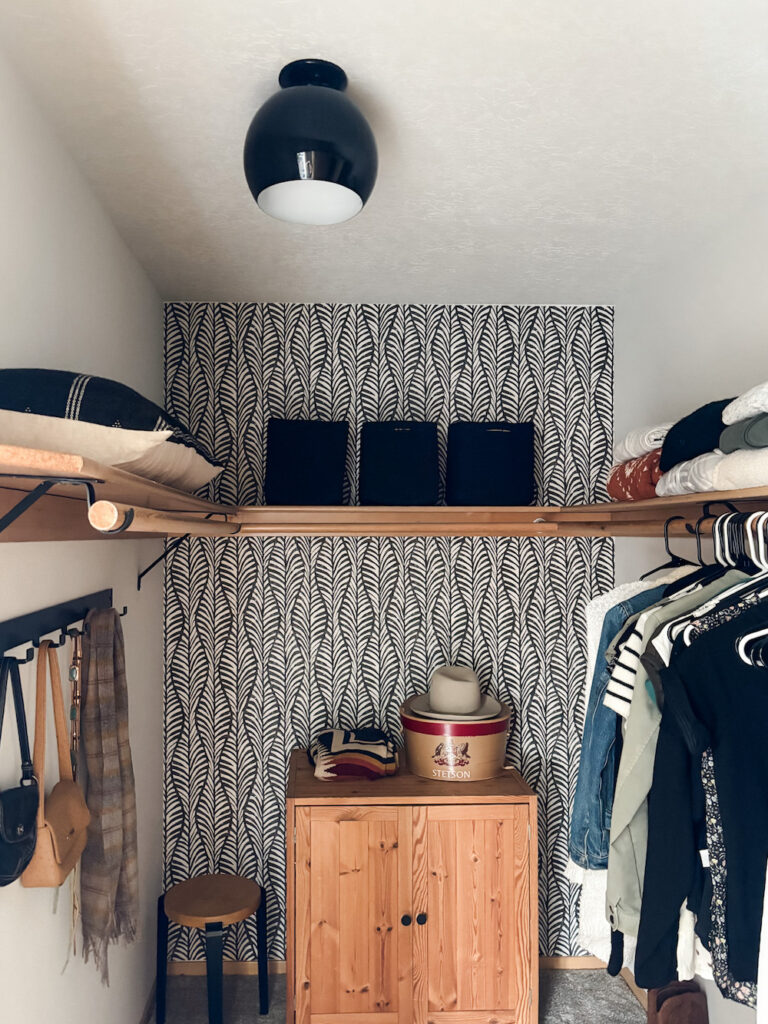
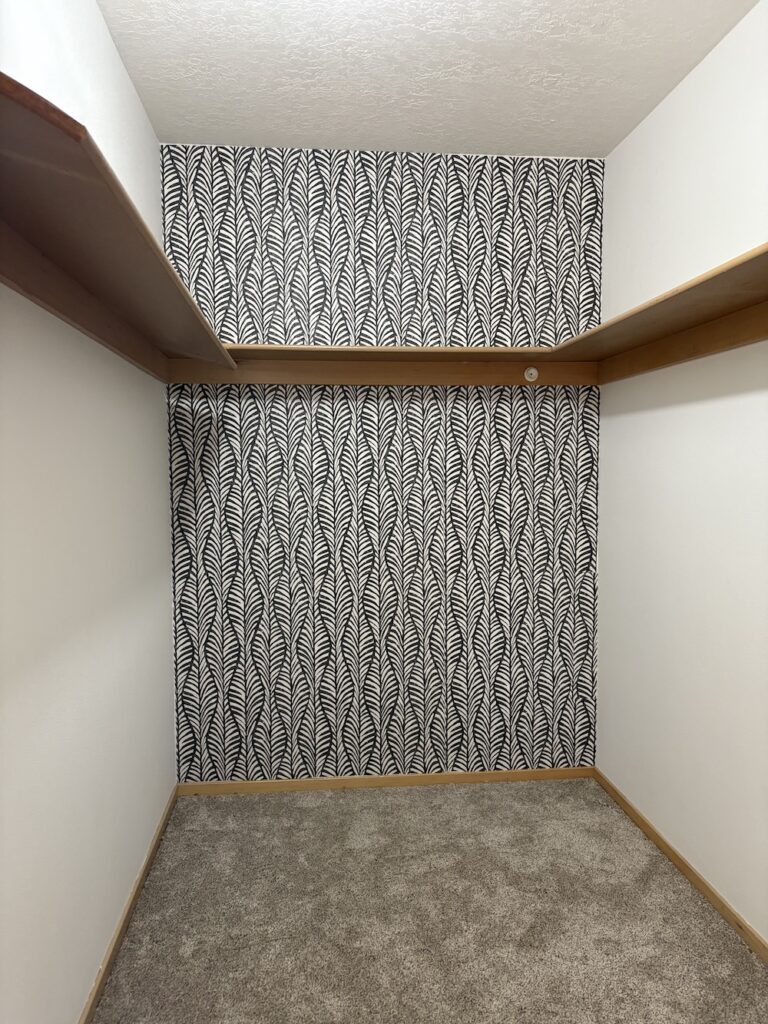
Next, I tried something I’ve never tackled before – wallpaper! I used a botanical print peel and stick wallpaper which made things so much easier. While there is definitely a learning curve (don’t look too closely to my seams), I’m really proud of the results and the impact it made on the space.
In long narrow spaces like this closet, I like creating a dramatic back wall, this sort of brings it forward and makes the room feel more spacious. I usually use something like black paint, like I did in my office makeover, but here, the graphic print does the trick.
Updated Light Fixture
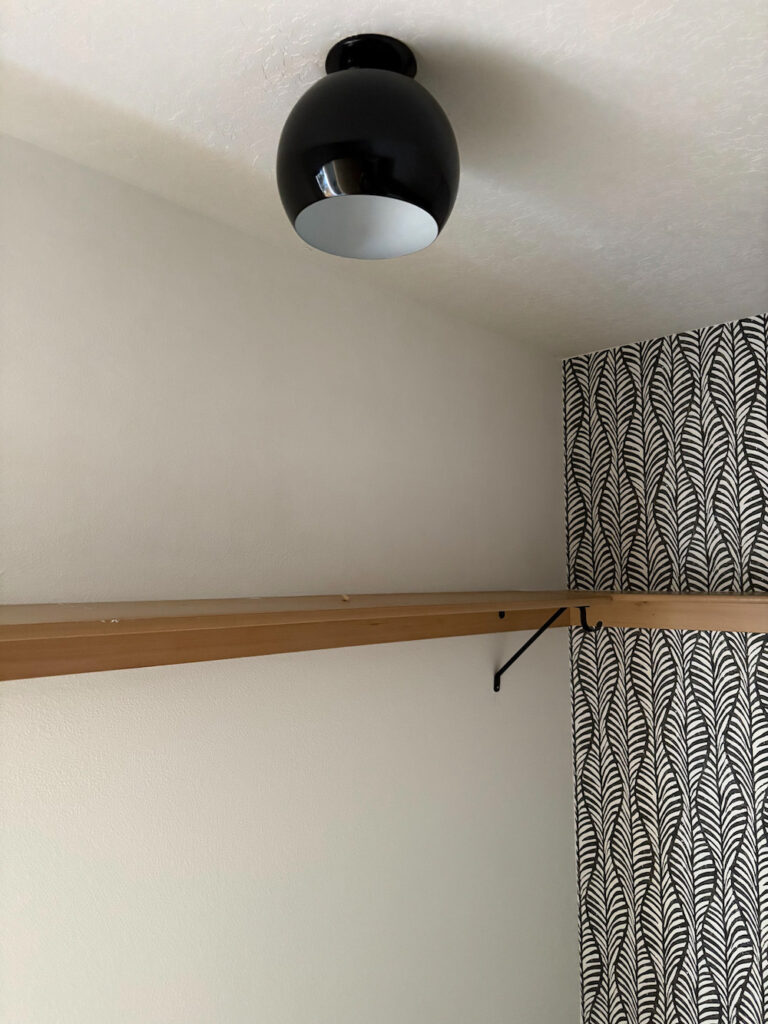
Another simple update for this closet makeover was changing out the light fixture. This is hands down one of my favorite ways to update any space. I learned the basics a few years ago and have switched out bathroom vanity lights and flush mounts fixtures to make a big difference.
Here, I used a black globe flush mount light fixture. It’s a little larger than the original one so it feels more proportionate. The glossy black is new for me (I usually prefer matte) but it adds a touch of glam while still providing contrast of pure black. I love it.
This how to install a light fixture video from Home Depot is a straight forward step by step guide to change a light.
Closet Storage
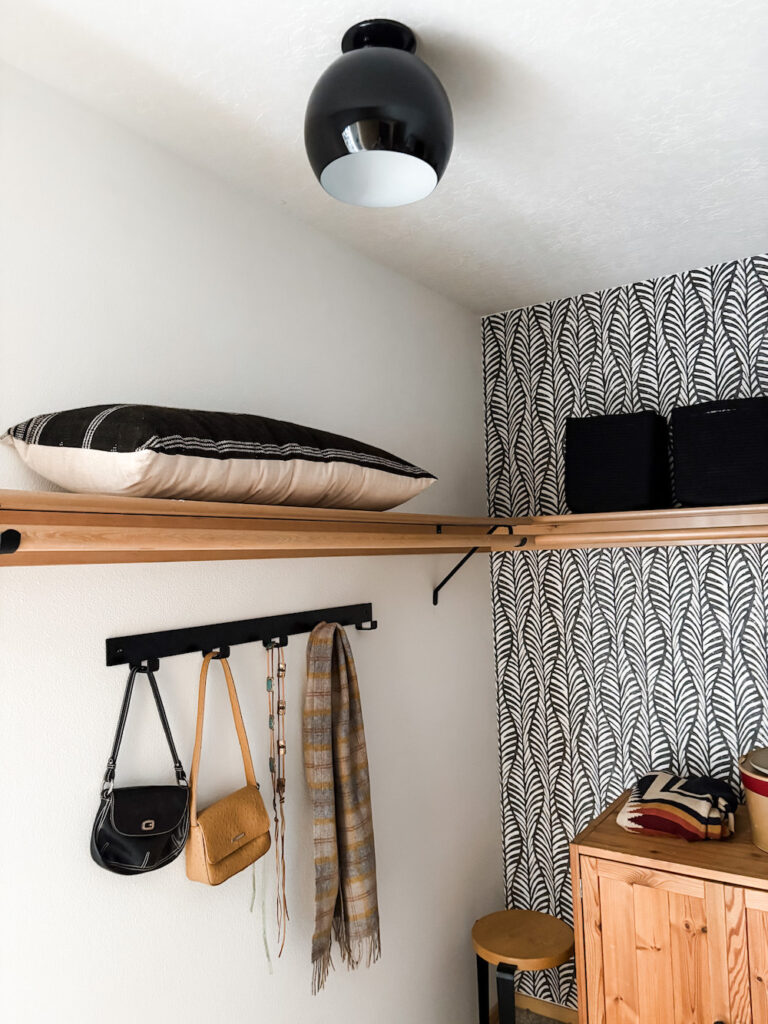
To add more functionality in this bedroom closet makeover, I used a few items for storage and organization. I installed a black hook rack for bags, belts, and scarves. Black woven baskets made good use of closet shelves (plus the black looks amazing against the wallpaper).
Closet Details
This closet makeover is filled with lots of small upgrades that all together make a big difference than just one or two things on their own. In addition to spray painting the brackets, I also touched up the screws with an oil-based sharpie for a full custom look.
Additionally, I swapped out the knobs on this old wood cabinet for a more modern look. Changing hardware is another simple update I use when sprucing up a room on a budget.
One of the biggest, under the radar game changers was simply swapping out the harsh, bright white LED bulb for my favorite, warm white light bulb option. This gives the whole space a softer, warmer glow. And who wants harsh lights in their closet anyway?!
Lastly, I added a soft, cozy rug. While this space has carpet, someday it will have tile or wood floors. Either way, a rug instantly grounds a space.
Bedroom Closet Makeover Sources
- Paint Walls & Ceiling
- Peel and Stick Wallpaper
- Spray paint brackets
- Change Light Fixture
- Replace with warm light bulb
- Style with cozy Area Rug
- Hook Rack
Final Thoughts on Bedroom Closet Makeover
While this space is still a work in progress (it might take me weeks to get through all those old bins), I’m overall really happy with the bedroom closet makeover. Not only does it function so much better ( I can get to my clothes!) it actually feels more like me. And isn’t that the goal of home design?
I’m in love with the botanical wallpaper and might try it again in my powder room downstairs. It was a challenge but one I’m so proud to have tackled! Check out my Hallway Closet Makeover for more organization ideas.


