How to Paint Fireplace Tile – Easy Home Update
When we moved into this home, the outdated 1980’s fireplace was one of the first little spaces to get transformed. It was kind of a blank slate so I looked into all the options. Changing the mantle? Replacing the tile? Painting the whole darn thing? I wondered, could I even paint the fireplace tile surround? Well, you can! It’s a super easy DIY but it definitely required some preparation. Not only did I paint the tile but I painted the old orange oak mantel for a whole new look. I’m so happy with the finished project, so I’m sharing how to paint a ceramic tile fireplace along with some tips I learned along the way.
Keep reading to see the fireplace before and after photos!

This whole living room was part of a bigger house remodel project so there were already a lot of changes. We painted the entire space white, using Chantilly Lace for the walls and Pure White for the new trim. Along with new white oak flooring we removed a few pony walls to open up the space. I removed the outdated window treatments for more natural light. All of this made for a brighter, bigger living room and the fireplace became the true focal point.

Fireplace Before
Before moving in, I could not let this space go. There were many wish list projects cut for the sake of time and money, but I could not look another day at the existing tile. You know how it is, sometimes a small detail will haunt you every. single. day. We were dealing with a serious orange oak fireplace surround and peach faux marble tiles. It was screaming for a full-on makeover.
Initially, I wondered if I had to replace the tile altogether? Or maybe we had to look at ceramic tile refinishing? I quickly learned those would be pretty expensive and possibly lead to more issues. So, I opted for painting fireplace tile.
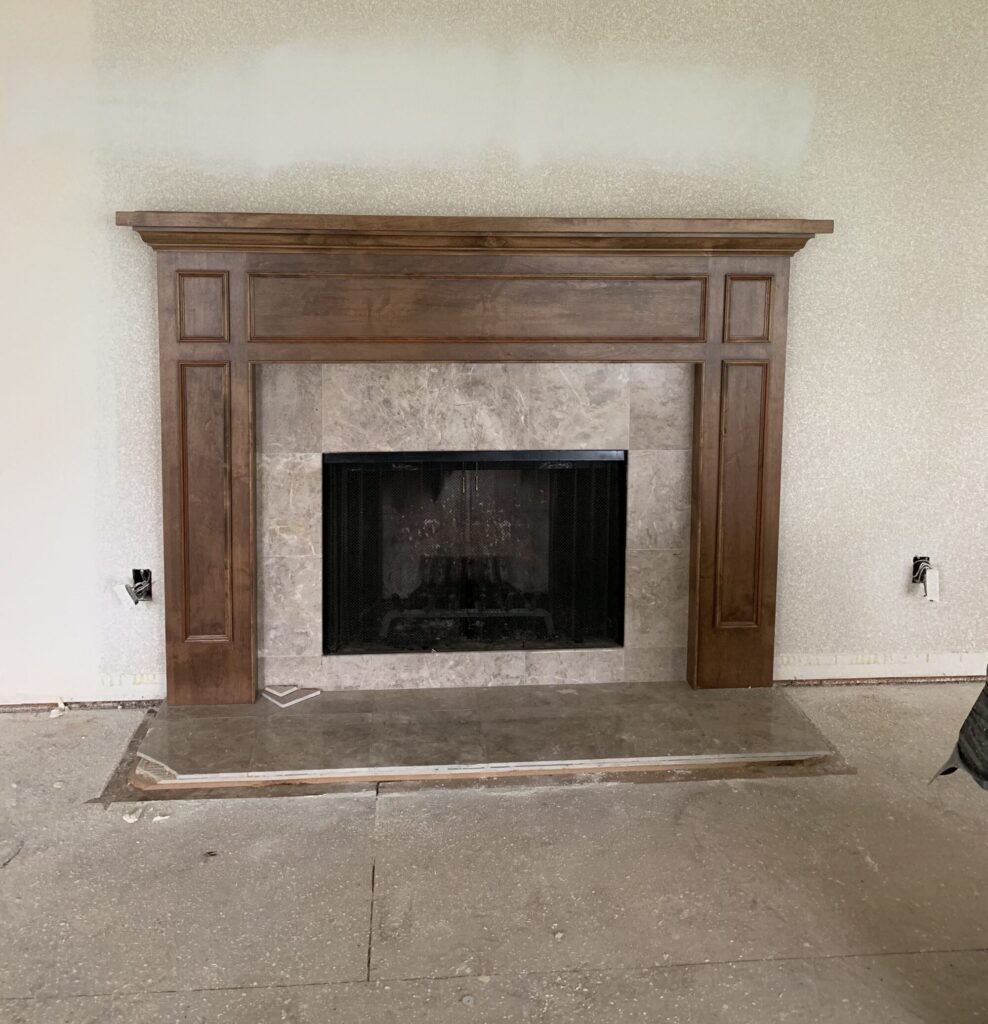
Since I wanted to paint both the wood mantel AND the ceramic surround, I needed to really sort out the steps and what the entire process involves. I wanted a more modern, minimal look for the tile fireplace. I know that updating a fireplace has major impact and would completely change this space.
Free Tile Fireplace Supply Checklist
Painted Tile Fireplace Supplies
- Interior Latex Paint for Mantel and Tile – I used Sherwin Williams Pure White for the wood mantel and would use Sherwin Williams Tricorn Black for the ceramic tile, both in a matte finish
- Primer – this is super necessary & I love this brand, I’ve used it on tons of projects and goes on tile surface easily
- Paint Foam Roller Set – I opted for paint rollers to avoid any brush lines on this project
- Sanding Blocks – I think fine grit sandpaper works best and is gentle on tile, these blocks are much easier to control than regular sandpaper
- Painter’s Tape – this type is a DIY staple for me! (tip – use painter’s tape to mark off artwork size before purchasing)
- Non-Residue Cleaner, such as TSP – this stuff is hardcore but it’s really important to clean all the tile grout and grooves, be sure to read label & precautions!
- Paint Brushes
- Painter’s Plastic – this makes the two part project easy
Steps for Painting Tile Fireplace
1. Sand Mantel and Tiles
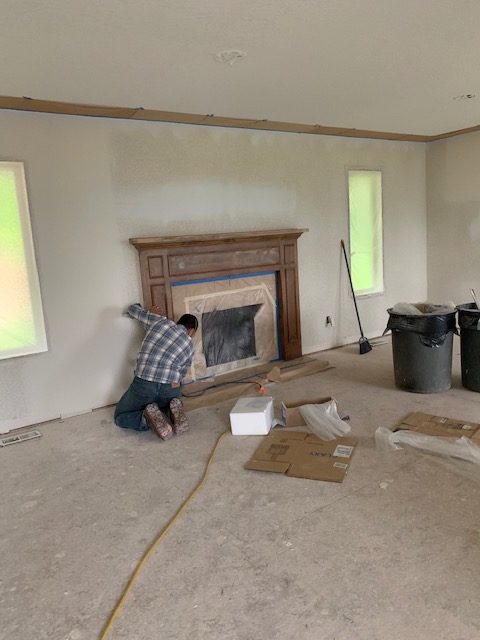
If you’re dealing with orange wood that saw its prime in the 80’s (not knocking it – my dad has the cabinets and rocks it) , you’re likely looking to paint that too. If so, sand the mantel first. You don’t need to take it down completely to raw wood, but fully remove that shiny sheen.
It might be surprising, but the tiles need to be gently sanded too. These are pretty basic ceramic tiles with a light texture. I used the fine grit sanding blocks to roughen up the tile surround. This helps the paint stcik.
We used an electric sander for the wood mantel for efficiency, but if we didn’t have access to that, the sandpaper blocks would’ve worked just fine.
This project involves ceramic tile, but really glossy porcelain tiles can be trickier to sand and need an extra fine grit and sanded super gently.
2. Clean and Mask Off Tile Surround
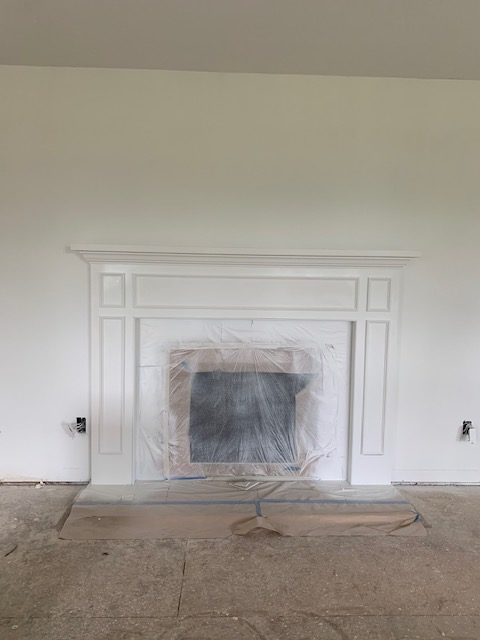
After cleaning all the sand dust, I covered the tile with plastic using painters tape. Even though it will all get painted, this helps make sure the paint goes on uniformly with a smooth finish.
But going one step more than taping edges, I also covered the entire center with plastic. This was necessary since we used a paint sprayer, but I might do it if hand painting anyway just to be cautious.
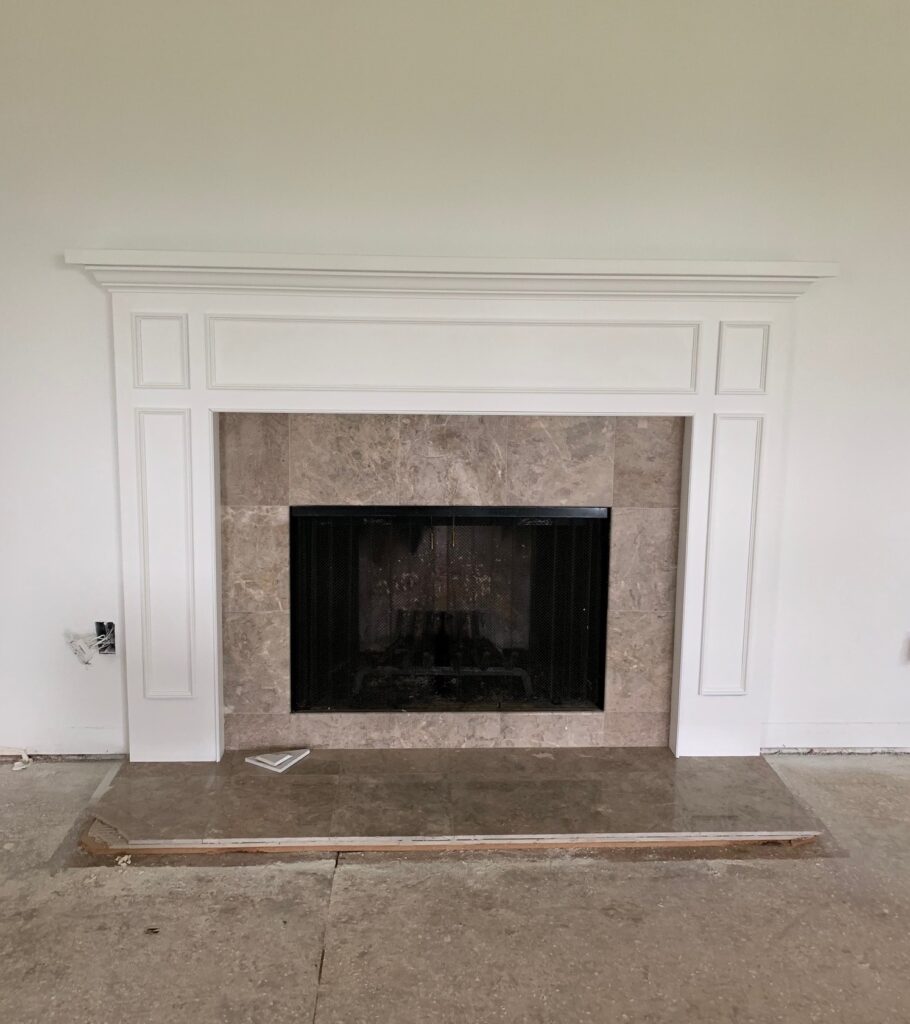
3. Paint the Mantel
We painted the entire mantel with Sherwin Williams Pure White. This is one of my favorite white paints which is a touch warmer than our walls (Benjamin Moore Chantilly Lace). For the mantel surround, we used a hand sprayer. It’s kind of messy but creates a really durable, smooth finish that looks professional.
This project would totally be possible with a paint brush – I would just use premium paint and a new, quality brush to reduce brush strokes. Even with just the painted mantel surround this is a pretty fireplace makeover.
4. Clean Ceramic Tile Fireplace
You could really do this cleaning step after sanding, but for clarity’s sake I’m gonna put it right here. Either way, it’s super important. The tile must be cleaned from dust, dirt, and other residue that builds up. In this case, there was build up from the 80’s.
It’s crucial to use a non-residue cleaner so the paint adheres well after cleaning. I used a TSP with a bucket and a brush. This cleaner is pretty hardcore and great for other projects too, but most importantly, it doesn’t leave behind any residue.
5. Tape Off Mantel
So much taping and prepping. But really, isn’t that most of what painting is all about? Once the mantel has dried for a few days, go ahead and tape off that baby being careful to make straight clean lines with the painter’s tape. Because we were in the middle of a full on remodel, I didn’t worry about the floors. Otherwise, be sure to cover and tape!
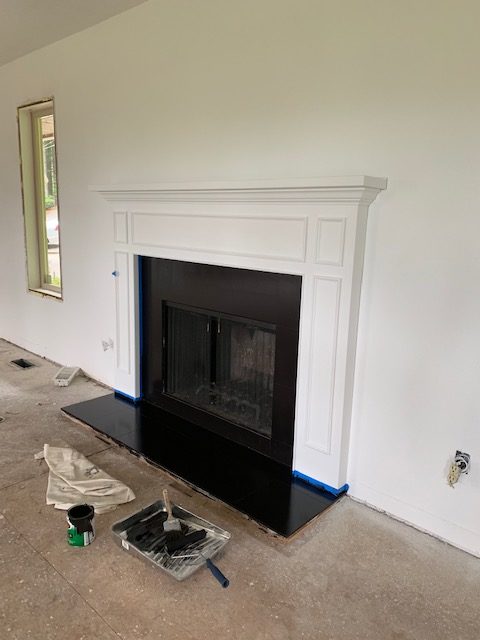
6. Prime & Paint Fireplace Tile
Time for the fun part! For this fireplace, I used a black paint that included a primer but if it hadn’t I definitely would’ve primed it separately first.
Here, I used the foam rollers for a smooth finish to paint all the tiles around the fireplace. I would definitely recommend the rollers over paint brushes. The rollers help get to the tile grout and don’t leave tell tell brush strokes.
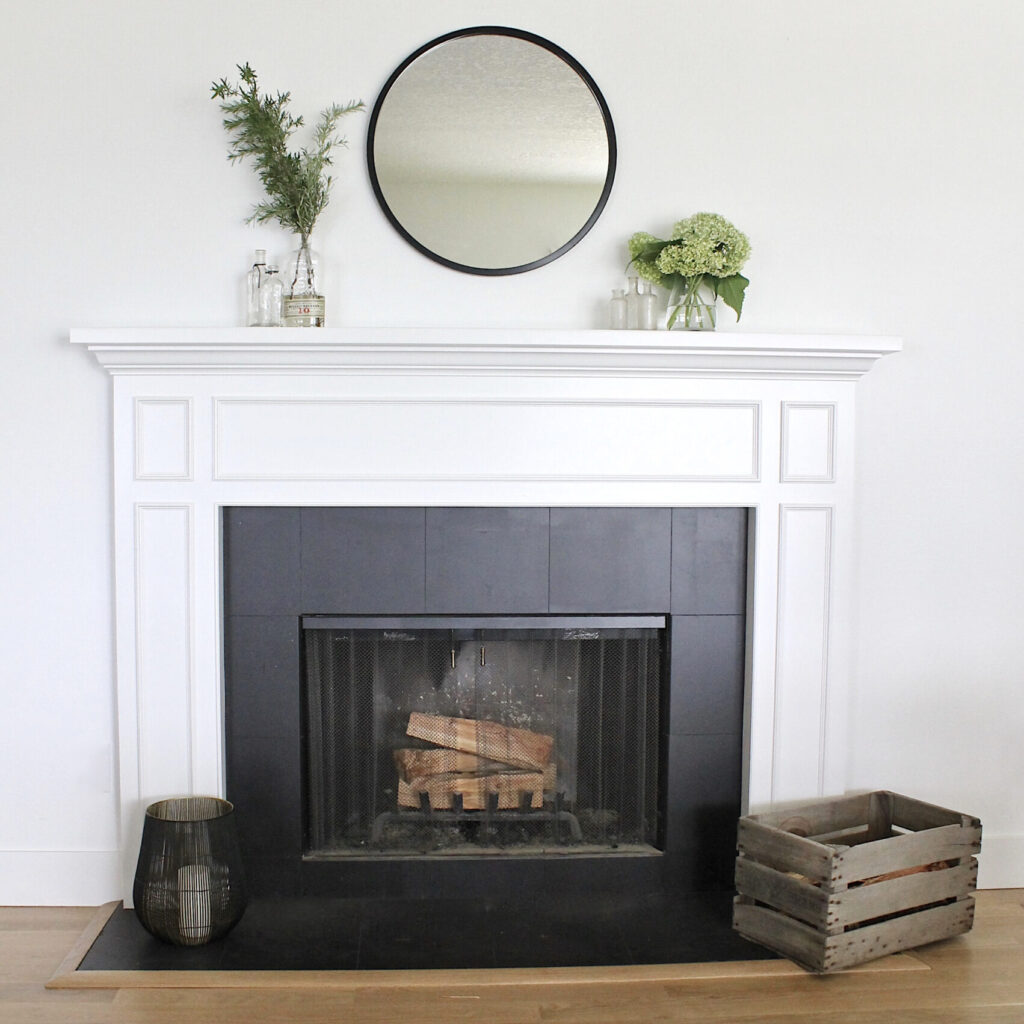
Wondering about painting over grout? Because I really wanted the most clean, minimal look possible, I painted over the grout lines. Some people paint the grout one color and then paint the tile separately. Not only does that sound like a huge hassle, I prefer the over all minimal fireplace design.
Painted Tile Fireplace FAQs
You might be wondering if you need a special fireplace paint and what I’ve learned is, nope! Most latex paint can tolerate high heat and the ceramic itself can be painted as long as it’s cleaned and primed. This makes the ceramic tile reface even easier!
I chatted with folks at Sherwin Williams and unless the surround is expected to get extremely hot (like an exposed wood fireplace that would be used to create really large fires), regular paint is fine. If it will get really hot, they do have a heat resistant paint available. And it’s even black.
Sealing isn’t always necessary, but it can help protect the paint and make cleaning easier. Use a clear, polyurethane in a satin or matte finish for best results, especially if your fireplace gets frequent use or has soot buildup.
Not if you prep it properly. Cleaning thoroughly, sanding lightly, and using a quality bonding primer before painting helps the paint adhere and last. A topcoat or sealant can also add extra durability, especially in high-traffic or kid-friendly homes.
Final Thoughts on Paint Tile Fireplace
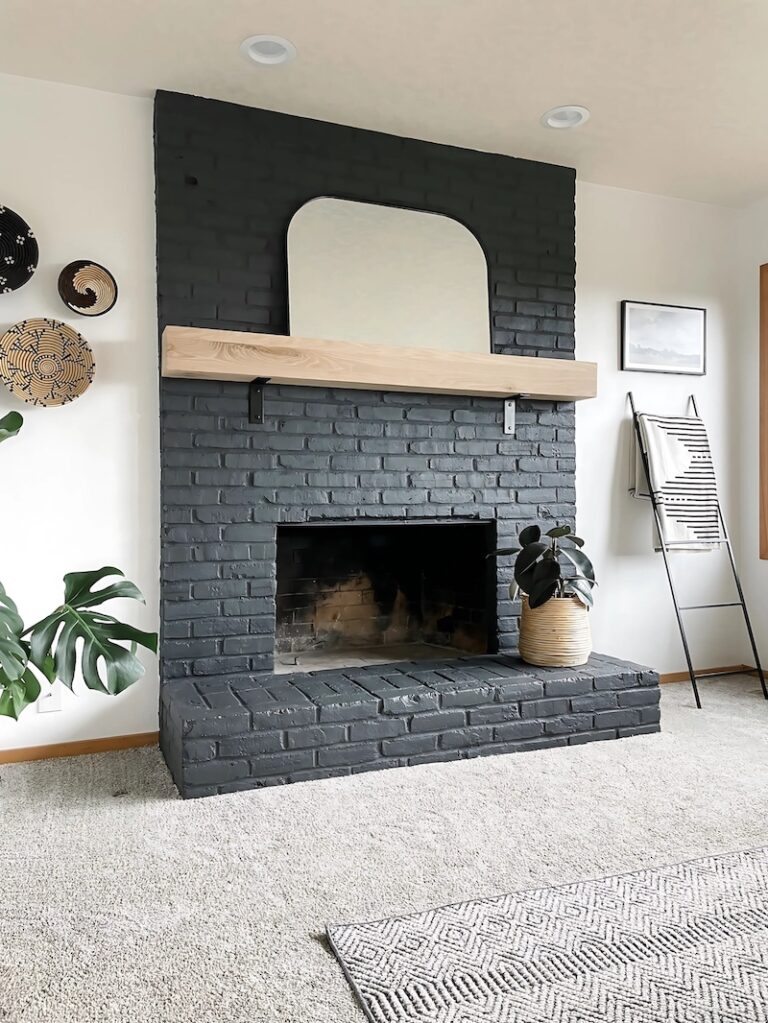
There it is, easy! Painting the fireplace tile made such an impact and is a lovely focal point for our living space. I love how it adds contrast with also being modern. This DIY project goes down as one of my Favorite Home Updates Under $200. The space improved over time – I added wireless sconces and improved my styling. If we had stayed in this home longer, I might’ve explore removing the more traditional mantel top and using more of a floating oak beam, like I used in my painted brick fireplace makeover. Overall, I’m really happy with how this DIY project turned out.


