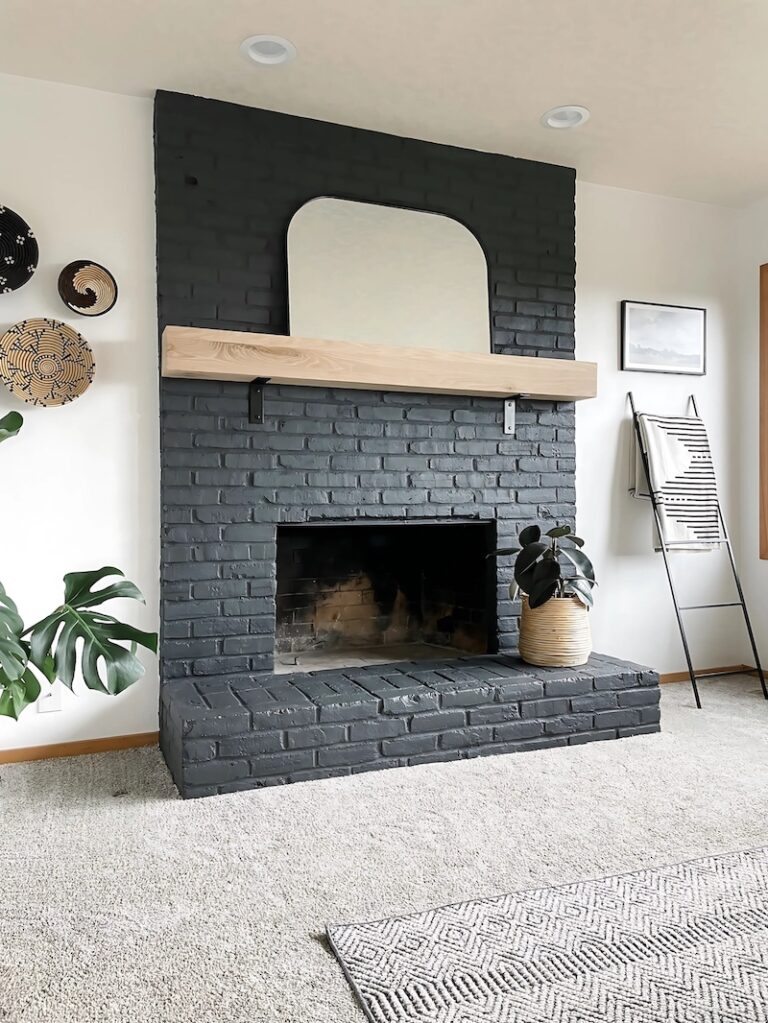
How to Paint a Stone Fireplace – An Easy DIY Project
If you’ve been here awhile, you’re probably not surprised to see that tackling the stone fireplace was the very first project in my new house! This space had a goldish brown stone hearth that just felt so tired and outdated. Painting it black created an instant update and transformed the entire look. In previous homes, I tackled both a brick and a tile fireplace, so this project continues my fireplace makeover quest! With just a little prep and patience, it’s really simple to paint a stone fireplace and create a dramatic impact.
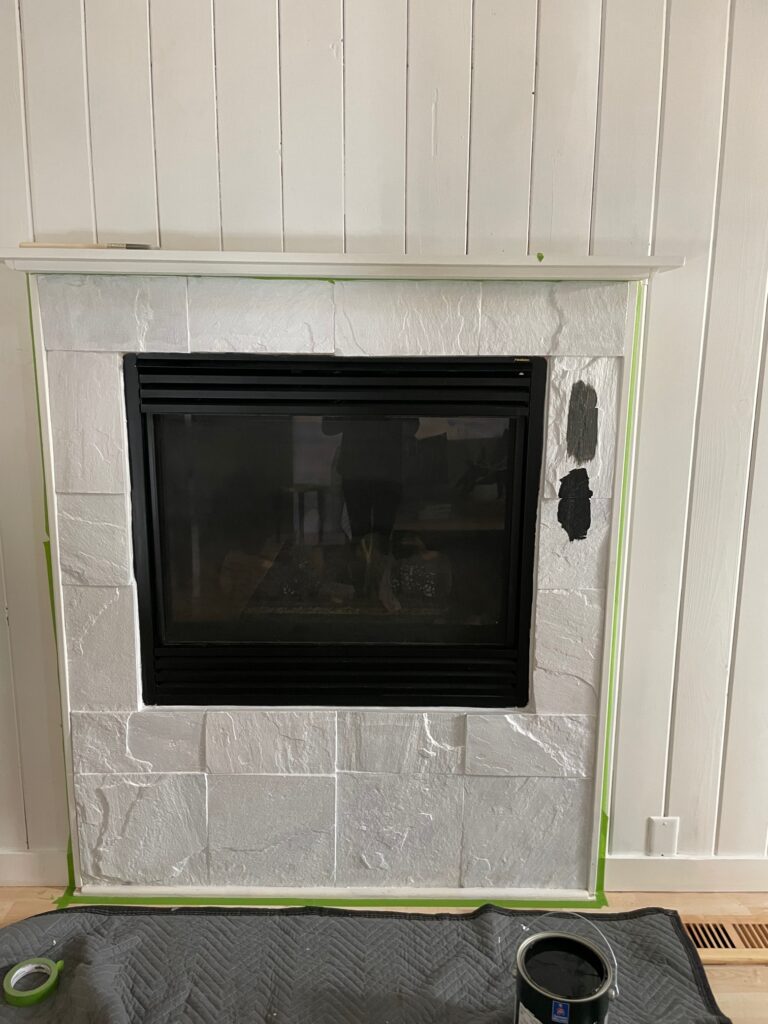
Natural Stone Fireplace Surround – Before
Here’s what I was working with – a very drab and outdated stone fireplace. While I typically love earthy colors and natural materials, this fireplace just felt a little off. It’s hard to capture in the photo but there were hints of glitter in the stone.
The natural stone colors are a little too peach for me. I’m not sure what type of stone tiles these are but since it was done in the 80’s and have a rough texture, I’m guessing they are quartzite.

Additionally, this is a gas insert like situation with a small shape so I hoped painting would add some visual impact and size, making it more of a focal point. Maybe in the future, I’ll add a wood beam mantel to give it more of an impact. For now, I’m hoping black paint & styling will do the trick.

Painted Stone Fireplace Supplies
I had a lot of these supplies on hand already from other projects. These are staples I use for DIY projects again and again.
- TSP Cleaning Kit (so important to clean off all the grime! Even if you don’t think it’s that dirty. This stuff is heavy duty so use gloves and follow directions closely)
- Zinsser Water Based Primer (crucial step to seal off porous stone material)
- FrogTape Painters Tape (this one is my favorite for crisp lines)
- Tricorn Black Interior Latex Paint from Sherwin Williams in Matte Finish, (it’s more expensive than many paints, but I always choose their Emerald paint line -it’s so thick and creates the perfect matte look, but still relatively easy to clean)
How to Paint a Stone Fireplace
I love home updates with an easy step by step process and no guess work. This fireplace makeover is pretty much that! With a few crucial steps, it’s easy to create a really big impact.
1. Scrub Stone
First, really clean the stone with a non residue cleaner, like TSP mixture. While it’s pretty hardcore, I’m always amazed at all the unknown grime that it cleans off. I used a hard bristle brush to get into the grooves if the stone and the grout lines.
It’s important to really clean the stone and also to use a non residue cleaner to make sure the primer and paint adhere. Otherwise, you’d be left with a blotchy mess!
2. Tape Off Fireplace Surround
Next, you’ll want to tape off the surrounding area. This will be different for every fireplace project. It might be a wood mantel surround or just regular drywall. Depending on the trim work, you might decide to paint a little more than just the tiles.
In this case, I there is a small wood trim which I chose to also paint. Painting the trim and stone creates a wider visual look for this narrow fireplace. Because we’re using black paint, I really needed crisp paint lines so the contrast with the white looks sharp.
3. Apply Prime Coat
While I don’t prime all my paint projects (especially if using something like milk paint), in this case primer is really important to seal stone surface. Because stone is porous, it will just soak up the paint and not necessarily stick very well, especially over time.
I used two coats of really good primer and the stone really soaked up the first coat! Primer tends to dry really quickly but I still allowed for ample time between coats just to make sure it created even coats in between.

4. Paint the Stone
Now for the fun part! Seriously, it is so satisfying watching something go from outdated to clean and modern right in front of your eyes.
For the black paint, I debated between my two favorites; Sherwin Williams Iron Ore (top) vs. Sherwin Williams Tricorn Black (bottom). They are both excellent black paint options which I’ve used on MANY projects. In fact, I keep a can of each in my DIY closet at all times.
While the Iron Ore would have been much darker with a second coat, I went with Tricorn Black for a more dramatic effect and to closely match the insert. Iron Ore is a deep, charcoal nearly black gray, while Tricorn Black is a neutral, true black. For a closer look, check out my in depth black paint comparison of these two colors.
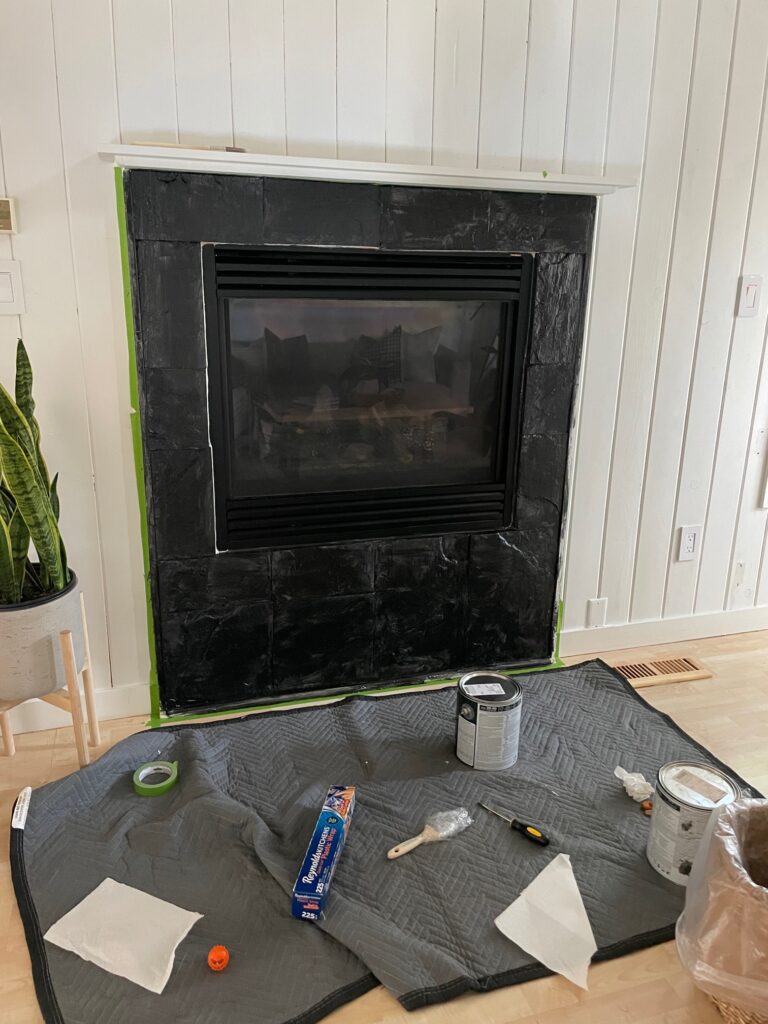
To actually paint the stone, I used a high quality paint brush. Although paint rollers are a great time saver for many projects, using a brush was really helpful for getting into all the nooks and crannies of the stone surface.
These are the paint brushes I used here and for most of my other painting projects. They’re pretty high quality for the price and seem to leave few brush lines so the finished look was an overall dark stone.
Even with the primer, I used TWO coats of black paint and still had a few additional touch ups in difficult areas. Each painting project has its own challenges. I’ve shared some of Painting Tips I Learned the Hard Way to help make each project more successful. But after two coats and some touch up, it was a beauty!
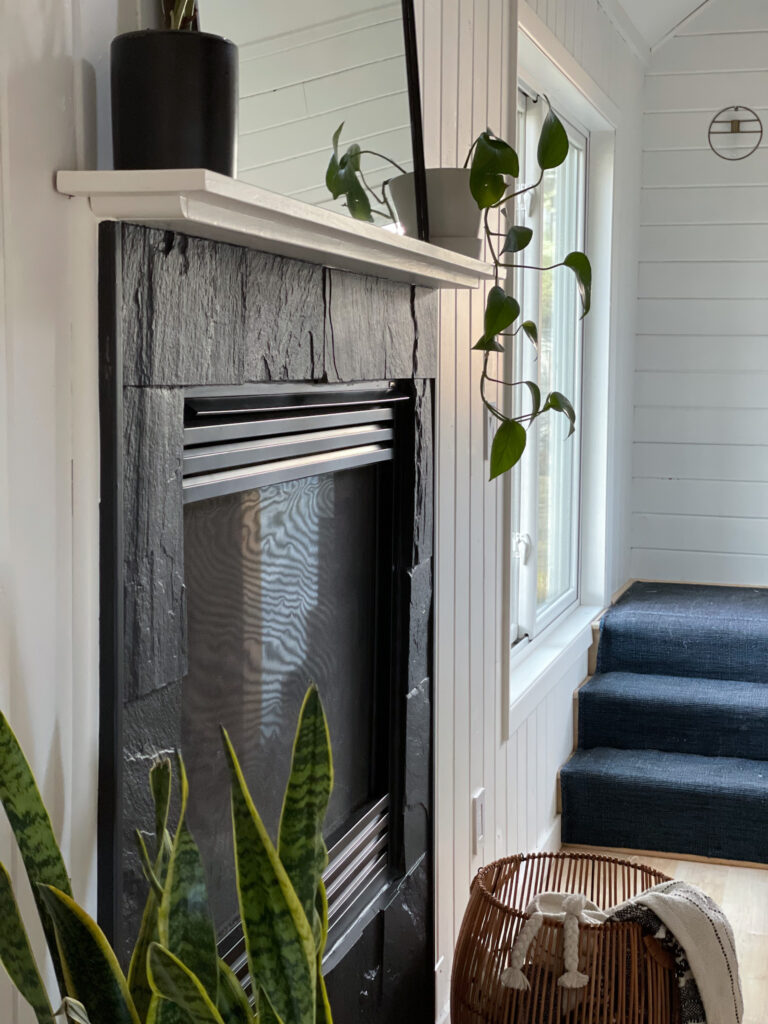
Fireplace Styling
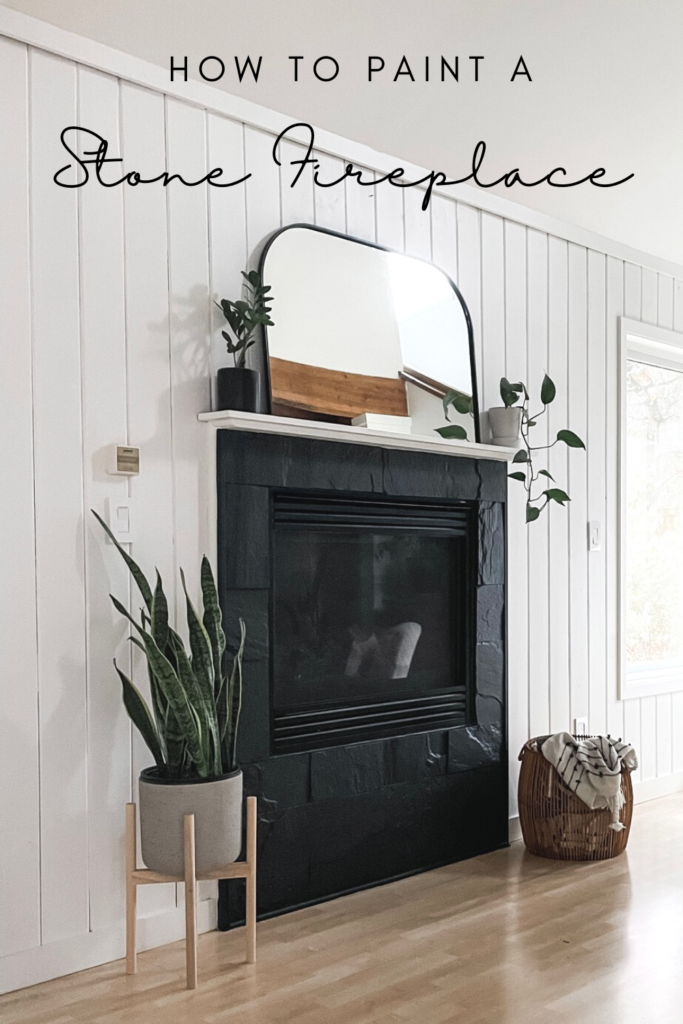
Because the stone can really suck up paint, I gave this ample time to cure and dry just to make sure it was complete before I started styling or getting near it. To style, I added one of my favorite arched mirrors – I’ve used it with other fireplaces and it’s perfect here for so many reasons:
- Adds Height – gives the more visual weight and height to the fireplace
- Contrasts Shape – the arch mixes up all the lines and squared edges
- Reflect Light – While this living room has some natural lights, it’s angled awkwardly so reflecting make it feel more airy
In addition to the mirror, I added plants – also for height and to break up all the stark lines. The wood planter and woven basket contributes some warmth for an overall organic modern vibe.

Final Thoughts
And once it was all finished, I could not believe the transformation! This fireplace makeover really took the whole space to another level, making the numerous paint coats worth it. I really love the black paint (I mean, when have I not?), it creates lovely contrast. If I wanted a more natural, slate look, I think the Iron Ore paint would’ve been a good choice for that effect.
I hope this is helpful if you’re wondering how to paint a stone fireplace. It’s an easy weekend project! And, of you’re looking for more fireplace ideas – check out my Whitewashed Fireplace post and the Tile Fireplace Makeover. I created a round up of 7 Easy Home Updates Under $200 for more simple home updates.
