How to Choose a Backsplash Tile
One of my very favorite things about kitchen updates is choosing kitchen tile backsplash—there are so many options! But, as you know, having endless choices often leads to indecision. It can easily become overwhelming. Since I’m in the midst of tackling the tile for my kitchen update, I thought I’d share some of my tips for choosing kitchen backsplash tile along with answer to common tiling questions.

Kitchen Backsplash Tile Basics
A kitchen backsplash is one of the easiest ways to transform a space. Whether you’re changing out an outdated 90s glassy mosaic with something fresh and modern or adding character to a builder-basic kitchen, the right backsplash can work magic. Have you seen the difference between a dated tile and a sleek, matte chevron design? It’s a game changer!
Even if you opt for a classic white subway tile, there are countless factors to consider—size, proportion, finish, and undertones—all of which make a huge impact on the final look. Here are my top tips to guide you through the process of choosing backsplash:

Consider Matte vs. Glossy Finish Tiles
One small detail can make a world of difference! Tile finishes are most commonly available in matte and polished options. I’m personally a huge fan of matte finishes. Although they can be harder to find (check online tile stores and local specialty shops), they give a more modern and elevated feel.
Matte tiles work particularly well in larger spaces, as they avoid excessive shine and reflection. This is especially important when tiles are placed around a window, where a polished finish might create too much glare. For a high-end, modern look, I think matte is the way to go!


Compare Tile Colors for Neutral and Undertones
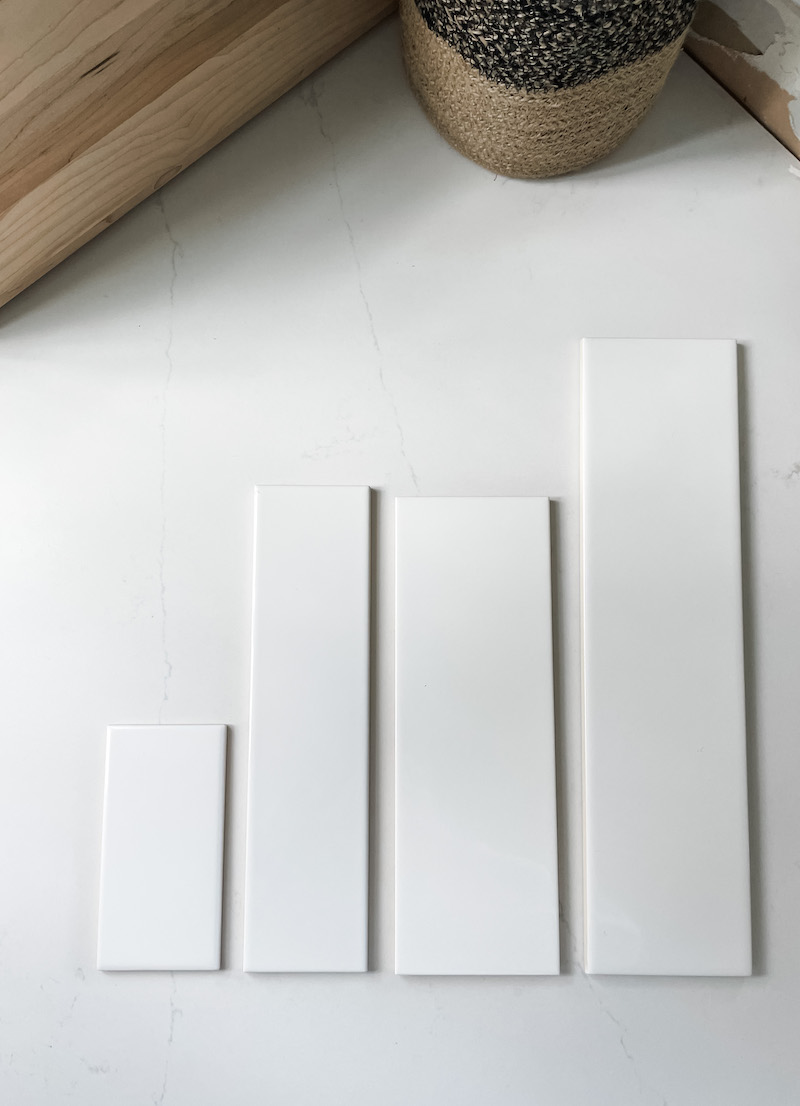
If you’re going for a colored backsplash, the same rules apply—but let’s focus on white for a moment, since that’s what I’m using in my kitchen. Not all whites are created equal! Each tile may be labeled “white” on a website, but when placed side by side, the differences become obvious. Some whites have warm, earthy undertones, while others lean cool or crisp.
Choosing the wrong undertone can shift the entire mood of your kitchen. A tile that skews too warm might make your space feel yellow or pink, while a cool-toned tile might feel overly stark and clinical. This is especially crucial when selecting gray tiles, which often have subtle pink or blue undertones that aren’t obvious until installed under your lighting.

Backsplash Tile Size and Proportion
Whether you choose subway tile or another shape, the size and proportion will significantly affect the overall look. Classic subway tile, typically 3″ x 6″, offers a timeless appeal, but experimenting with different dimensions can create a fresh feel.
For example, larger subway tiles, like 4″ x 16″, create a more expansive and less busy look, which is great for small kitchens. If you’re tiling from countertop to ceiling like I am, opting for a longer and wider tile can help open up the space. In my previous kitchen, I used 4″ x 16″ matte white subway tiles, and the result was both modern and airy.

Backsplash Tile Layout Options
Not into subway tile? There are so many creative backsplash alternatives! Consider:
- Chevron or herringbone patterns
- Vertical stacked tiles for a contemporary look
- Square tiles for a retro aesthetic
- Handmade zellige tiles for a natural, organic feel
Check out my post with some of my favorite 7 Alternatives to Subway Tile for more ideas and examples
Tile Backsplash FAQs
When it comes to backsplash tile, there are millions of variables it seems. Doing so many remodels, I’ve learned that every project has it’s own details and the questions seem never ending. Here are some of the most common I encounter.
Where to Stop Backsplash Tile?
One of the trickiest decisions when planning a kitchen backsplash is figuring out where it should end. While there’s no strict rule, there are a few natural stopping points that can help guide your choice:
- Just below upper cabinets – This is the most common layout, especially in traditional kitchens. It’s clean, functional, and cost-effective.
- At the edge of a window or cabinet – If you’re not tiling the entire wall, stopping at a window trim or the edge of a cabinet creates a tidy, intentional finish.
- Countertop to ceiling – This is the route I chose in my kitchen—and I’m so glad I did! Tiling all the way up not only adds drama and height, but it visually expands the space. In smaller kitchens, this can be a game-changer, making everything feel more open and cohesive.
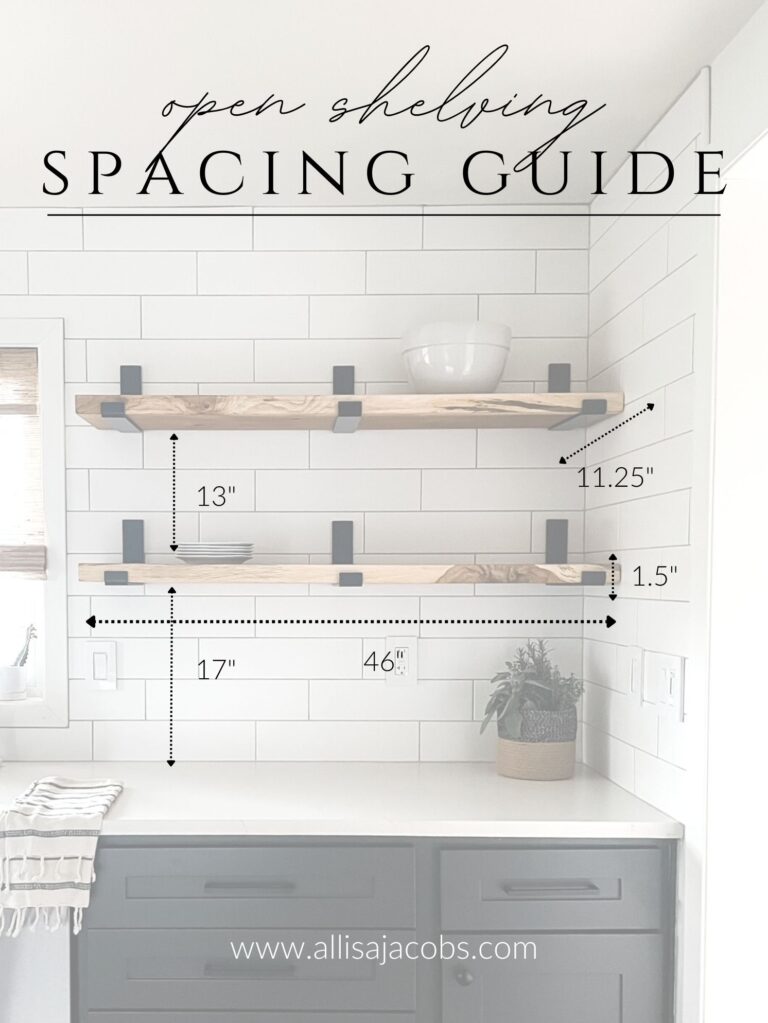
This full-height look works especially well around windows and open shelves. Since we removed our upper cabinets, I wanted something that would add texture and interest without feeling busy. The clean vertical surface of 4″ x 16″ matte tiles felt just right—it draws your eye upward and balances the width of the window and sink area beautifully.

What Comes First: Countertops or Backsplash?
This is a super common question when planning a kitchen remodel—and the short answer is: countertops should go first.
Since the backsplash sits right on top of the counters, installing countertops first gives you a clean line to work from. It also helps avoid any measurement issues, gaps, or cracks that might happen if the counter shifts slightly during install.
Once your countertops are in place, it’s much easier to choose the right tile. You’ll be able to see the exact tones, textures, and finishes you’re working with. For example, I went with a simple, neutral quartz countertop with a suede matte finish.
Remember, elements do not need to match exactly. it’s about coordinating and choosing neutral elements that complement each other.

What is the best kitchen backsplash tile grout?
Don’t forget the grout! It might seem like a minor detail, but grout color plays a crucial role in the final look of your backsplash. My favorite is Mapei Warm Gray—it’s the perfect neutral that isn’t too silver or too dark, offering a subtle contrast without overwhelming the tile design.Don’t forget the grout!

Can You Install Shelves on Backsplash Tile?
Yes! Wondering whether you can install shelves on tile is a super common question. And it is entirely possible. I’ve done this in many of my kitchen remodels- and it’s nerve wracking each time. However, using the right tools – like a diamond drill bit makes all the difference.
You can see how I installed brackets on my white subway tile on my DIY Corner Shelf Project.
Final Thoughts on Backsplash Tile
Kitchen backsplash tile might seem like a small detail, but it totally transforms your space. From choosing the right tile finish and size to deciding where it should stop and how it coordinates with your countertops, every detail is important. For my kitchen, tiling from countertop to ceiling with a larger matte white tile helped create a clean, open feel that adds both function and beauty.
And don’t forget about grout! That final detail can really tie it all in (my pick is Mapei Warm Gray for a reason). If you’re planning your own backsplash project, I hope these tips help you feel more confident and inspired. And if you’re looking for more easy upgrades, be sure to check out my 9 Easy Home Updates Under $200 or take a peek at the full transformation in my Small Kitchen Remodel Reveal.


