
How to Make Leather Pulls – Easy Dresser Makeover
If you ask me, black paint makes just about anything look better. Recently, I updated a vintage dresser I found a few years back at a barn sale. Although I love a natural wood dresser, this one didn’t seem like a good candidate for sanding and had a few uneven coats of cherry stain. Along with the black, I want to add some contrast and a natural element and thought of some pretty ones I’d seen around. Stuck at home with the pandemic and trying to be resourceful, I thought I’d learn how to make leather pulls!

(Part of my design journey includes sourcing great products and sharing them with you! Naturally, some of my content includes affiliate links, which means, at no additional cost to you, I may earn a commission if you click through and purchase. This commission allows me to write more content and support our family, so thank you!)

Before I tell you how to make leather pulls, let share a bit more about this paint. I knew black would add a lot of contrast in our white walled home, but I wanted something with a matte, lived in look. Because of this, I chose Rustoleum Milk Paint in Eclipse.

Ok, here’s the scoop on how to make leather pulls. First, I’ll say it’s insanely easy. So much so, I’m thinking of adding them in more places now.

- #10-32 Round Head Machine Screws (similar to these ones)
- Matching Screw Nuts
- 1″ wide Leather Strip (I used leftover pieces from a different project. If I was starting new, I’d look for vegan leather – which is hard to find in this size)
- Hole punch or nail
- Ruler
How to Make Leather Pulls
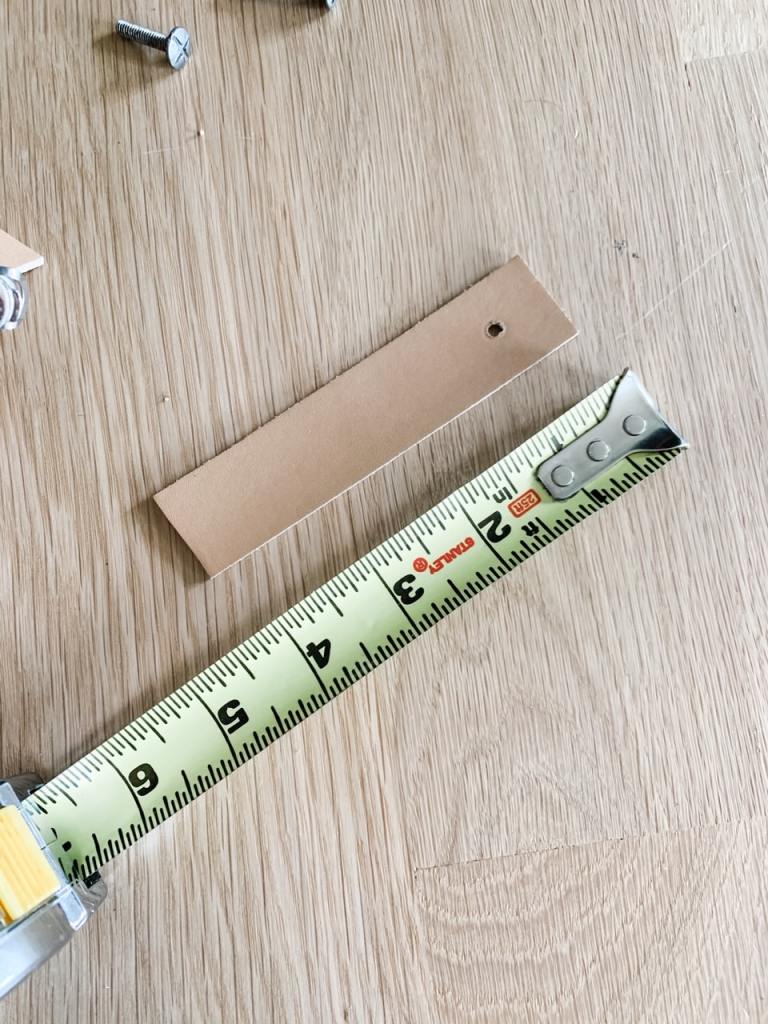
- First, I cut my leather strips to about 4.25″ Long
- Then, I marked a point on center about 1″ down from the top of a strip.
- Using a small hole puncher, I punched out the hole (Because my leather strips were thin, this worked fairly well for me. Sometimes it did require a little extra pushing through with a nail. Thicker leather would need a stronger leather punch or hammering through a nail)
- I then fold the strip in half and marked the hole placement for the other end of the strip and punched that hole.
- With the leather strip folded, I pushed through the machine screw so the head is facing out.
- I inserted the pull into the dresser drawer and secured it from the inside with the screw nut.
- I then just repeated for all remaining pulls.

Save this project for later by pinning the image above to your Pinterest Boards! Follow me on Pinterest for more DIY project inspiration!
One Comment