How to Mix Wood Tones
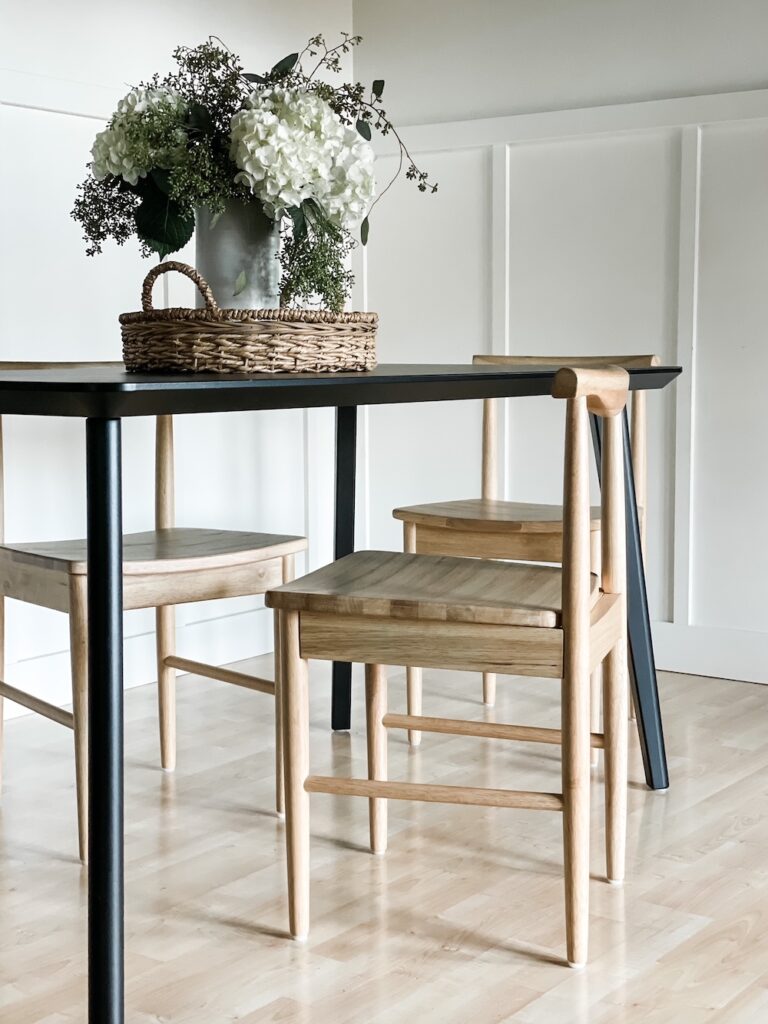
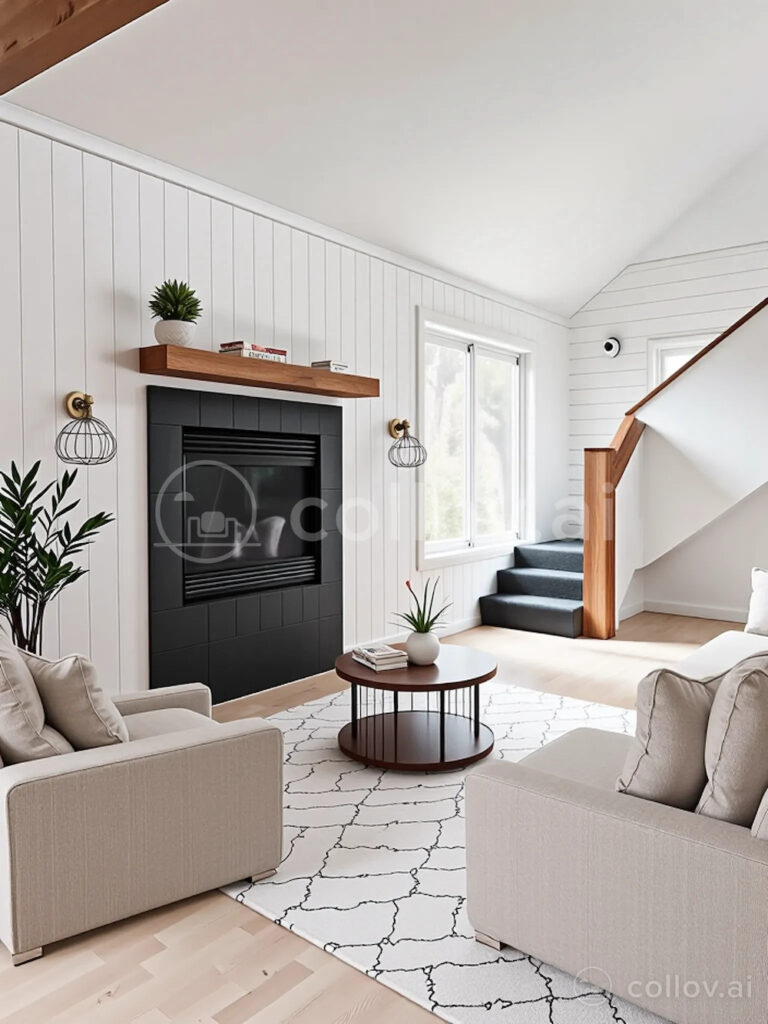
I love some good white oak floors and you know I’m all about the wall shelves. While we’re at it, I often choose wood frames and decor. But, how to mix wood tones? As someone who loves natural elements in my home design, this is a common challenge I face. It can be a little tricky, but with a few general guidelines, it becomes second nature. Plus, combining wood types and colors in a space creates depth so our homes don’t feel flat and clinical!
Whether you’re looking at bedroom furniture or a living room layout, check out these 7 tips on mixing wood colors so it feels intentional and authentic.

1. Start with a Dominant Wood Tone
Before mixing wood tones, establish one wood color that will anchor the space. If you have wood flooring, this would be a good place to start. A primary wood tone might also be the cabinetry, trim, or in some spaces, a large piece of furniture (like built in shelves).
Once you determine this wood tone, you’ll build from there. What if you don’t like that wood tone? I hear you. Often, we might feel stuck with older wood tones (looking at you orange oak cabinets). I’m in this same predicament with some older wood baseboards. At that point, you still want to factor it in and consider the long term game plan. Avoid huge investments until that is sorted.
For example, if you really detest your kitchen cabinets avoid making a bunch of design decisions around them. Instead, consider a happy medium in the meantime, and focus on the when and how they might change.

2. Identify the Undertones
Ok, this step is crucial! So much so, I could probably write the entire article on how to mix wood tones on just this element. When figuring out how to combine different types and colors of wood, look for their undertones. Yep, just like paint, you want to look at those subtle colors that come through.
Wood tones generally fall into three categories:
- Warm (red, orange, or yellow undertones – like oak, cherry or mahogany)
- Cool (gray or ashy undertones – like weathered oak or walnut)
- Neutral (beige, taupe, or natural wood tones – like white oak, maple or birch)
In general, wood with the same undertone will place nice together. You can imagine an old Victorian home with a mix of cherry and mahogany furniture. However, warm and cool tones tend to fight each other – our brains tell us something just feels off. Not to say it’s impossible, but I’d generally avoid it.
Neutral wood tones on the other hand, just like neutral paint colors, are easy to mix with each other or complement warm or cool woods. I like working with a variety of white oak and maple wood types.
3. Limit to 2-3 Types of Wood
Even with the undertones in mind, when mixing wood tones, it can be helpful to limit things to just two to three types of wood. That’s not a hard and fast rule by any means, but to keep things feeling cohesive and avoid overwhelming the design, just a couple of wood types can go a long way. Choose one dominant wood and use the others as accents in the same or complementary undertone through furniture, shelving, or decor.
4. Use a Bridging Element
If you’re mixing very different wood tones or have a large amount of one wooden color a bridging element can help them work together. In living rooms and bedrooms this is often an area rug. In the kitchen, we might see a contrast of the countertops or a painted kitchen island serve as the connection between different wood types.

For example, if you have a walnut coffee table and a light oak floor, those two might feel better together with an area rug underneath to bridge, or connect, those two wood tones. I mean, I’d vote for an area rug anyway, but you can really see how it serves a major purpose when it comes to interior design elements. When it comes to shelf styling, I might place a wood bowl on top of contrasting book to break up the space between the bowl and the wood shelf.
5. Space Out the Tones
Another tip when figuring out how to mix wood tones is spacing them out a bit. Instead of placing contrasting wood tones right next to each other, distribute them throughout the room. For example, if you have dark walnut dining chairs, balance them with a lighter wood buffet or open shelving in a similar undertone.

6. Add Metal and Other Natural Materials
As mentioned, I’m a huge fan of natural elements. Give me those natural wood shelves and light oak floors. But this last tip addresses the too much of a good thing issue. If you’ve got a lot of wood elements in your home this is for you.
Bringing in metals, like brass or black hardware, and other natural materials, like stone or rattan, to break up all the wood design. This kind of serves like the bridge element already mentioned but layers in natural so our mind sees it all collectively as a grouping of natural materials not just different wood types placed in one room.
Final Thoughts
There you have it, six tips on how to mix wood tones. It can be tricky, but with these tools, it becomes easier to layer in wood elements in our home. By focusing on wood colors, spacing, and layering different materials, you can create a space that feels natural and intentionally designed. And if you can take away only one thing from this article, let it be recognizing wood undertones – total game changer!
Curious about more wood elements in your home? Check out my posts on How to Make Wood Shelves, What I Wish I Knew About Wood Floors, and a Practical Guide to Woven Wood Shades.


