
How to Style a Picture Ledge – Simple Tips for a Modern Aesthetic
Anyone else struggle with the space above your sofa? I know I sure did. For years, I scouted solutions and searched high and low for large art pieces I could fully commit to—no easy feat when you’re trying to fill what’s typically a big, blank, and very prominent wall. Luckily, I landed on the picture ledge idea, and it changed everything. Using a shelf above the couch creates big, proportionate wall decor and also allows for flexibility. Over the years I’ve gathered some ideas on how to style a picture ledge and am sharing them, along with some tips here for you.

In my previous home, I made a DIY picture ledge using common pine and a little elbow grease, but for this space, I was beyond thrilled to receive this gorgeous handmade maple wood photo ledge from Rowe Station Woodworks. The quality is incredible—solid, beautifully finished hardwood with pre-drilled keyholes for easy mounting. It was a breeze to install and instantly elevated the whole room.

There are so many reasons I love picture ledges, but the biggest one is that they let me be indecisive in the best way. Whether it’s switching things up for a new season, rotating in family photos, or showcasing a fresh digital print I just discovered, I can constantly refresh my space without the commitment of hammering new holes in the wall. It’s one of my favorite ways for Decorating Empty Walls.

Picture Ledge Styling Quick Guide
| Element | What to Do | Why It Works |
|---|---|---|
| Artwork | Mix styles and sizes | Keeps the display interesting without feeling cluttered |
| Objects | Add vases, greenery, or decor | Breaks up frames and adds softness |
| Frames | Vary sizes and finishes | Creates a layered, collected look |
| Height | Overlap and stagger pieces | Adds depth and dimension |
| Color Palette | Keep tones cohesive | Prevents the ledge from feeling chaotic |
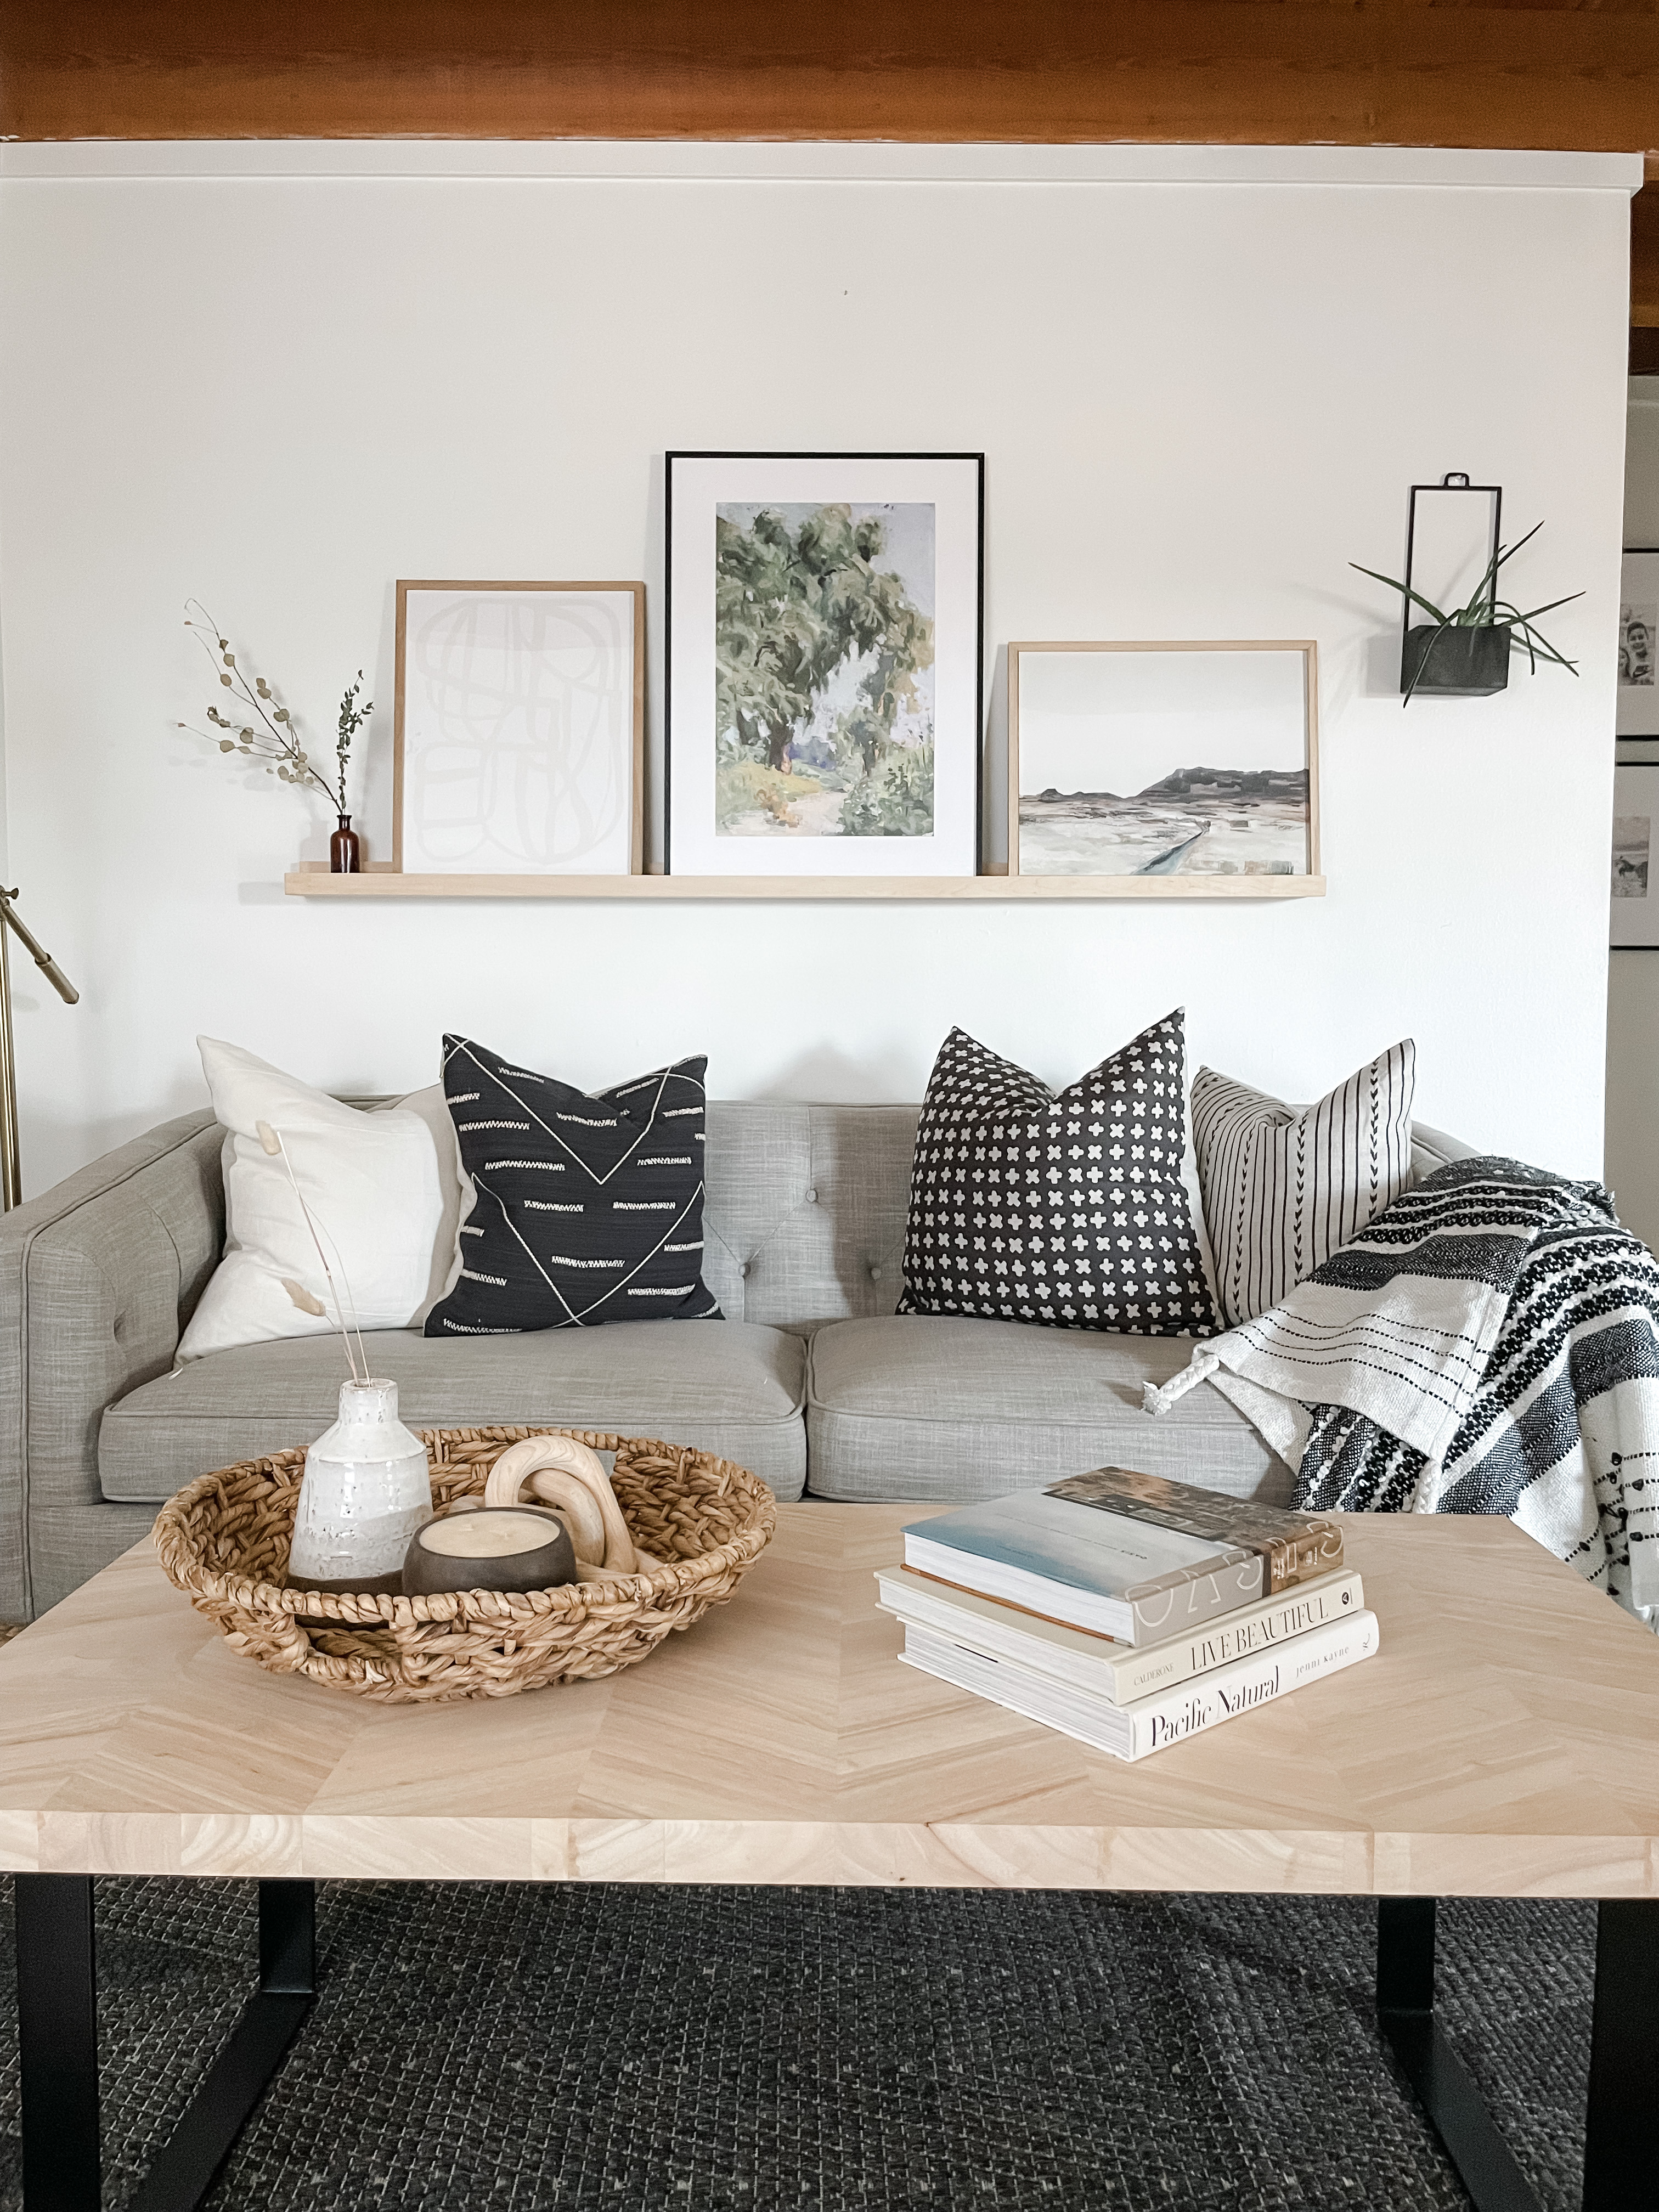
1. Mix Up the Artwork
To keep the ledge feeling current and curated, I like to mix different styles of artwork—abstract pieces, minimalist line drawings, soft landscapes, and modern black-and-white prints. The variation keeps things interesting without feeling cluttered. Sticking with a neutral or complementary color palette ensures it all still feels cohesive.
One of my favorite tricks is using digital downloads—they’re affordable, easy to swap out, and instantly satisfying. I’ve rounded up some of my go-to digital art sources and tips for printing and framing in my post on [Buying Online Art Prints].

2. Use Other Objects
A picture ledge doesn’t have to be all frames! I like to layer in small vases, ceramic bottles, and dried greenery to add dimension and height. These organic shapes help break up the hard lines of frames and add softness to the arrangement. Bonus: they’re easy to move around and look great in pairs or trios.
Choose objects that complement your room’s aesthetic, but don’t be afraid to go a little eclectic. A pop of texture—like a rattan-wrapped bottle or a matte stone vase—can add just enough visual interest.
3. Include a Variety of Frames
To give your ledge a modern and collected feel, use a mix of frame sizes and orientations (both vertical and horizontal). I typically keep the frame widths similar for cohesion but enjoy mixing finishes—like matte black, white, and light oak. This adds a designer touch without being too matchy-matchy.
If you’re unsure where to start, I highly recommend this Frame Guide from Artifact Uprising. It’s helped me map out balanced combinations that look polished but not overly styled.
Picture Ledge FAQs
For most spaces, hang the picture ledge about 57–60 inches from the floor, which is usually about eye level. For placing a picture ledge above a sofa, bed, or console table, keep it about 8–12 inches above the furniture for balanced spacing.
While planning your wall decor, one of the best questions is how long should the picture ledge above the couch be? One great guideline suggests that the picture ledge should be about 2/3 the length of the couch. For my room, I selected a 60″ long wood ledge. It works well with my bigger, darker gray couch. In the other living room space, I’d say it might be just a touch to long for my shorter gray couch but feels proportionate to the space.
Most picture ledges are about 3.5 to 5 inches deep to comfortably hold standard frames. This allows them to lean against the wall. Deeper shelf ledges will function more like a regular shelf.
Final Thoughts on Picture Ledge Styling
I hope this guide helps with learning how to style a picture ledge shelf. It’s one of my favorite ways to decorate the wall above a couch. From mixing up artwork, using other decor, and including a variety of frames – this type of shelf is the perfect way to create an authentic living room space.
And now that you’ve got the basics of styling a picture ledge down, want to level up? Check out my full guide on How to Decorate a Room From Start to Finish where I walk you through layering textures, selecting paint, lighting, and more to create a space that feels both personal and beautifully pulled together.


